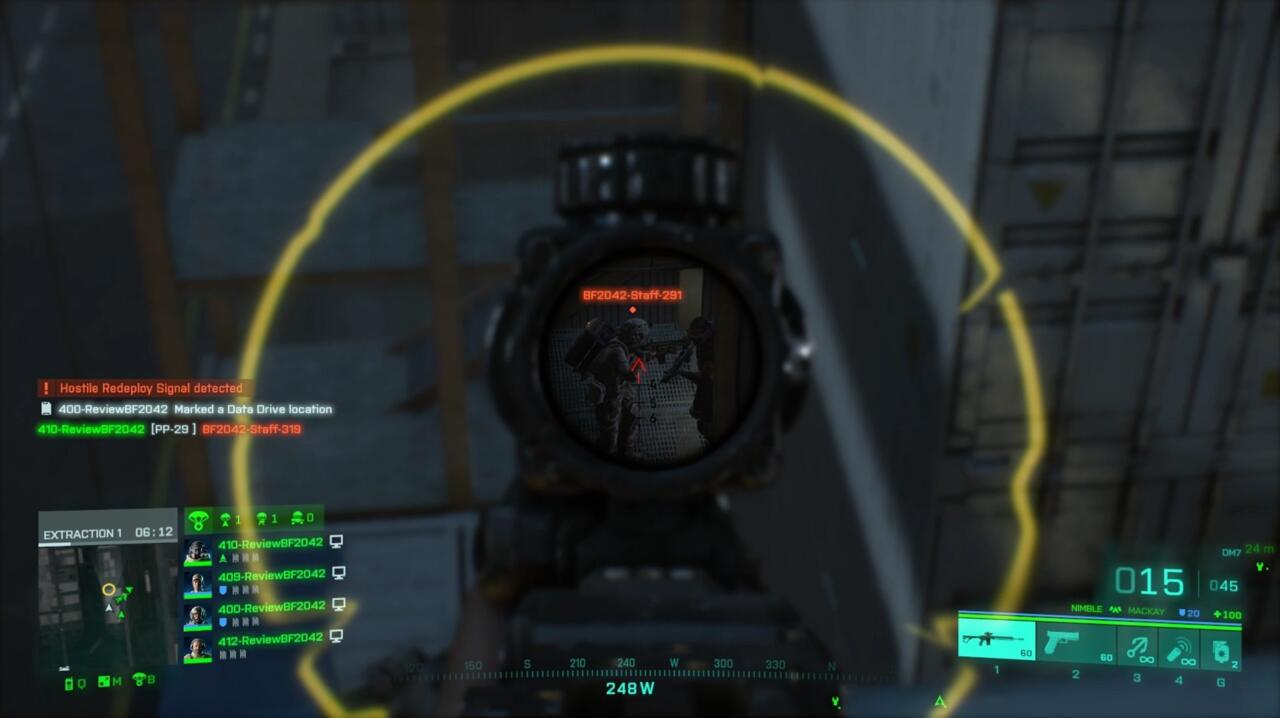
With Battlefield 2042, developer DICE brings a whole bunch of tweaks to the traditional Battlefield formula. One major change is Hazard Zone, a new competitive multiplayer mode that mixes some solid ideas from the battle royale genre with 2042’s approach to specialist characters. The result is a squad-based free-for-all match, in which you and your team of three other players hunt down objectives and kill other players before making your way to an extraction point and trying to abscond with the goods.
The rules of Hazard Zone are pretty different from the more traditional Battlefield modes of Conquest and Breakthrough, and the mode is more restrictive in key ways than its counterparts. Knowing what you’re facing and how to make the most of your gear, your teammates, and your strategies will help you survive and thrive in Hazard Zone. Here are a whole bunch of things we learned during our time playing the mode ahead of its release, and some things we wish we’d known earlier.
Now Playing: Battlefield 2042 Hazard Zone – 18 Things I Wish I Knew
Don’t forget to check out our Battlefield 2042 review as well.
Invest In Yourself (And Start Early)
As in battle royale game modes, when you fire up a match in Hazard Zone, you start with nothing–you don’t have full access to the gear you’ve unlocked in Battlefield 2042. Instead, you have to earn a currency called Dark Market Credits by playing matches in the mode, which you then spend on your loadout in the next match. Credits can buy you different guns (all of which will have whatever customizations you make to them in the Collections tab), various tactical gear, and even some perks and upgrades for your character.
Your Dark Market Credits are persistent between matches, so you’re rewarded for playing Hazard Zone, killing other players and AI-controlled Occupying Forces, and extracting with data drives, which is your main objective in a match. So the more you play, the more players you kill, and the more drives you extract, the more Dark Market Credits you’ll have.
Kill Enemies, Earn Money

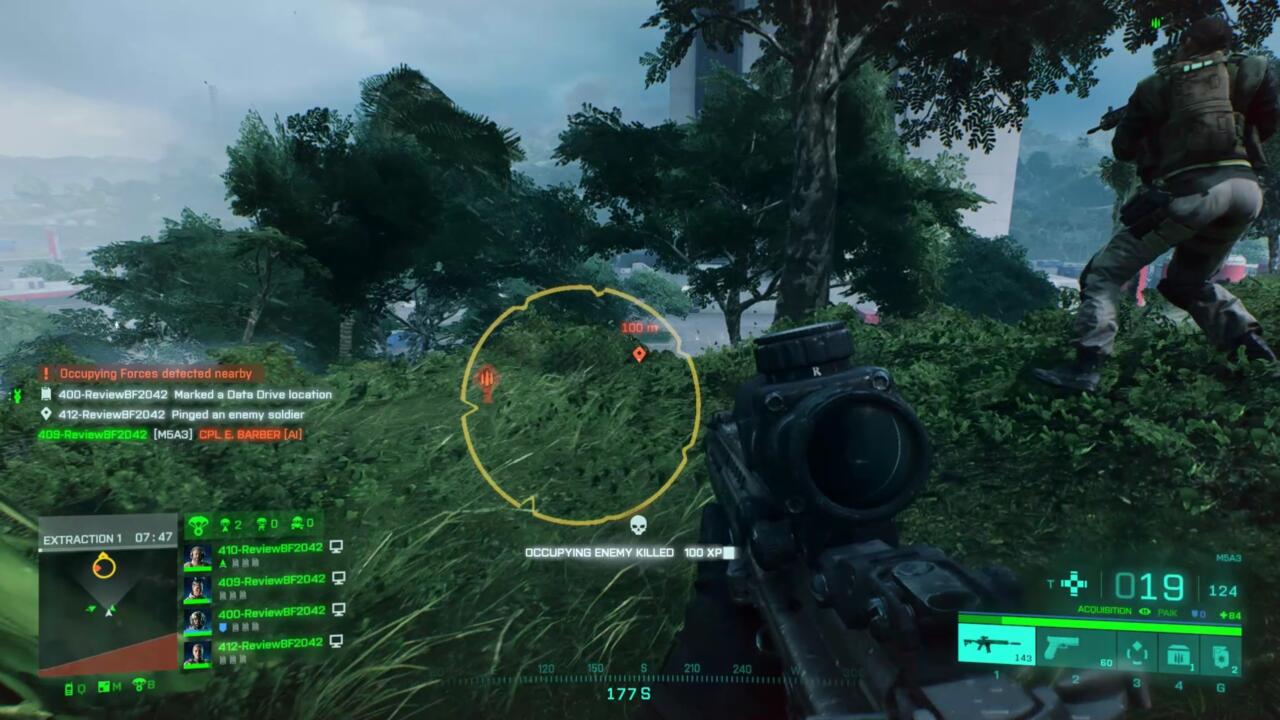
The primary goal in Hazard Zone is to gather data drives and extract with them, but it’s not the only way to earn credits. In fact, you might want to focus on killing as many enemies as you can in most matches–both players in other squads and the AI-controlled “Occupying Forces” grunts you’ll see running around in matches. You can even equip the free Negotiated Bounty 1 perk to give you 50% more returns for grunt farming. As a matter of fact, if you’re going to extract with only a few hard drives, you can often make as much or more just by fighting. Since there are only eight other teams, it might even be a viable strategy to just focus on hunting them down and taking the hard drives they drop.
Let Them Fight
Hazard Zone takes a lot of notes from battle royale, and if you’re a veteran of those kinds of games, you know that a big part of the strategy is to wait. When you near objectives or spot another squad, it’s often best to see what happens. Getting “third-partied” by another group you didn’t see coming is something you’ll deal with a lot in Hazard Zone, so it’s often a good idea to hang back from a crashed satellite or extraction site and wait to see how things develop. That gives you the opportunity to be the third party and to clean up stragglers in the end.
Bring Extra Ammo
You’ll notice very quickly that ammo is at a premium in Hazard Zone. Matches can last a bit, and between enemy squads and Occupying Forces, you’re going to burn through a lot of bullets. You can find ammo stations spread throughout the map, so make sure to take advantage of them–but you’ll also want someone on your squad to bring extra ammo so you can gear up while you’re caught out in the field.
The specialist Angel is also good in this role, as his supply drops can refill your explosives, too. Another tip that we found worked in the review build is to equip different ammo types in the Plus system, because each magazine has its own ammo count. That way, if you run out of rounds in one magazine, you have a backup. Another great way to save ammo is to find and use Ranger uplinks and to let Boris’s turret do some of the work when it comes to dealing with Occupying Forces.
Test How Your Specialists Work

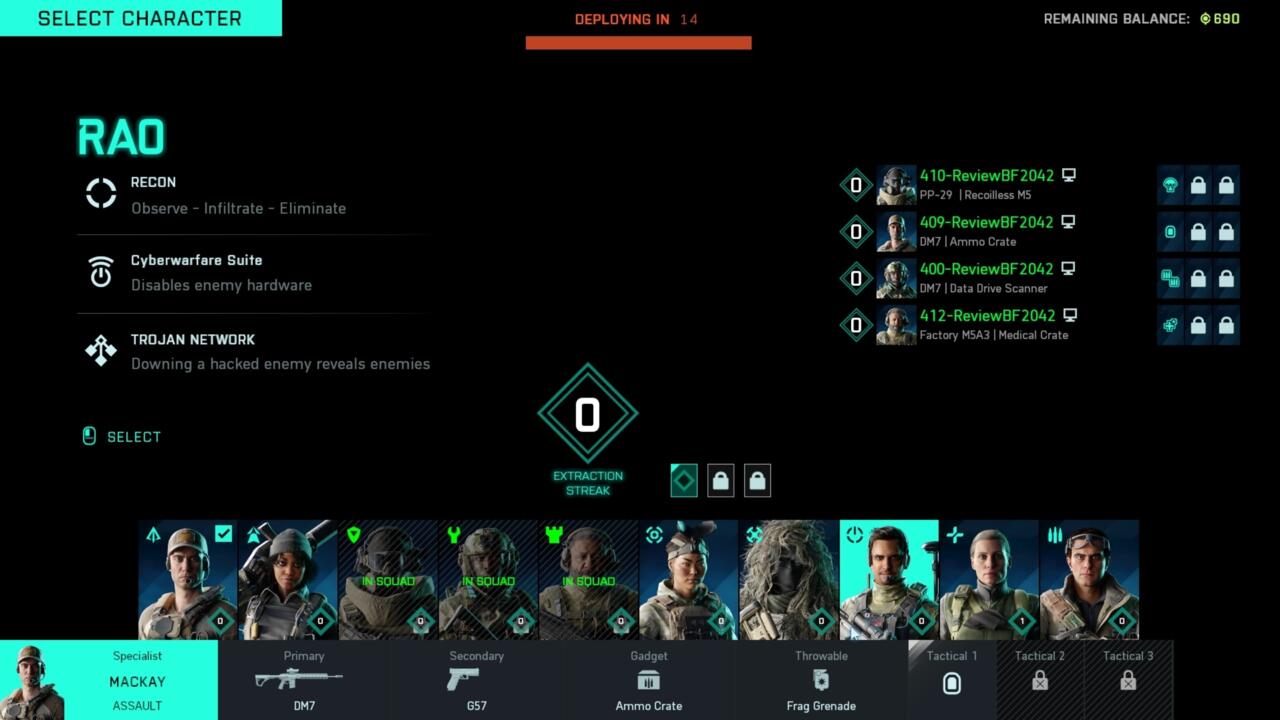
In Hazard Zone, some specialists operate a little differently than they do in All-Out Warfare modes. For instance, in Conquest and Breakthrough, Angel can call in a supply drop that lets teammates change their loadouts on the fly. Since you have to purchase parts of your loadout with Dark Market credits, you can’t use his ability to change them–but he can still provide supplies to your team. Make sure you know what you’re getting into with each squad member, and pay attention to what gear and specialists your teammates are bringing so you can synergize together for the best possible strategy.
Kit Out Your Guns
The Collection tab in the menu allows you to see everything you’ve unlocked in Battlefield 2042, and in that same menu, you can add attachments to your guns. The Plus system allows you to add several of the same kind of attachment to a given weapon and change the attachment you’re using on the fly in a match. You’re going to want to spend time tricking out any weapons you want to use, because the guns you can purchase with Dark Market credits before a Hazard Zone match are your guns. You’ll also find a couple of “free” generic guns you can take into a match, but the other weapons available to you are the ones you’ve unlocked. So take some time to customize your weapons before a match to give yourself an advantage.
Bring Some Ranged Options
Fast-firing assault rifles are great when you run into another squad just as they’re trying to extract, or a group descends on you at a crashed satellite. But the maps in Battlefield 2042 are huge, and more often than not, you’re likely going to engage other teams at long range. Make sure you’re varying the guns you bring on your squad. It’s also a good idea to include a longer-range scope in your Plus menu loadout and to opt for guns that can switch to single-fire modes for sniping. Hazard Zone is likely to be dominated by snipers, so make sure you’re one of them.
Invest In Insurance
One of the tactical upgrades you can purchase once you have some Dark Market credits is loadout insurance, which will refund half the cost of your loadout in a match should you be killed. Given that only two squads can extract in a match (most of the time), chances are good insurance will be credits well spent. If you don’t have anything else you need for your loadout, it can help you get some funds together more quickly.
Communication Is Key

It’s true that Battlefield 2042 did not launch with voice chat, and it’s unclear when it’ll be added to the game. That said, you’re still going to want to make sure you’re on mic with your squad if you’re playing Hazard Zone, whether in party chat on PlayStation or Xbox, or using a service like Discord on PC. Communication is essential for battle royale-like modes such as this one, and it’s very hard to succeed without working together with your team and making the most out of everyone’s loadouts and abilities. Similarly, while Battlefield 2042 includes a ping system, it’s not nearly as robust as what you might see in other games, and no substitute for voice chat if you can use it.
Vehicles Are Power–And A Risk
In all Battlefield modes, vehicles can turn the tide. But in Hazard Zone, they’re much more limited than in other parts of Battlefield 2042, and using them is actually a lot more dangerous. In most matches, you’ll likely see flatbed trucks scattered around, and if you jump in a car, most of the time, that’ll be what you’re driving. But since these are regular civilian vehicles, they’re also the most vulnerable vehicles in the game–and a single well-placed rocket is enough to wreck them completely, along with your whole squad if they’re inside.
The upshot is that a flatbed can carry your whole group if you’re careful about it, although not all in seats. A truck can fit two players in the cab and two can cram into the bed (although that’s precarious for at least one of you, and you might fall out). Pair the flatbed ride with Dozer’s shield and you can protect against fire from enemies who are chasing you. Riders in the flatbed can also shoot, especially behind; nobody in the cab can do that.
You can find uplinks to call in tougher light vehicles with mounted guns, which can be extremely powerful for taking out a squad at a satellite crash site or protecting the extraction condor before your team bugs out. But know that while vehicles can be awesome, they’re also a great way for your whole team to buy it if things go south. Keep your group spread out a bit if you can, but use vehicles to your advantage if you find them.
Make Sure You Plan To Fight Vehicles
As a continuation to that last point, it’s always a good idea to bring the means to fight vehicles, because a savvy squad with a mounted gun can cut your group apart very effectively. Having one of your teammates play Rao can give you the hacking know-how to shut down a vehicle long enough to destroy it, but barring that, bringing at least one rocket launcher is a must. We’ve dropped several squads in a single shot after they all piled into a truck, narrowly averting disaster as they barreled toward us. Make sure you’re ready to handle a squad on wheels, or you’ll regret it.
Use The Call-In Tablet

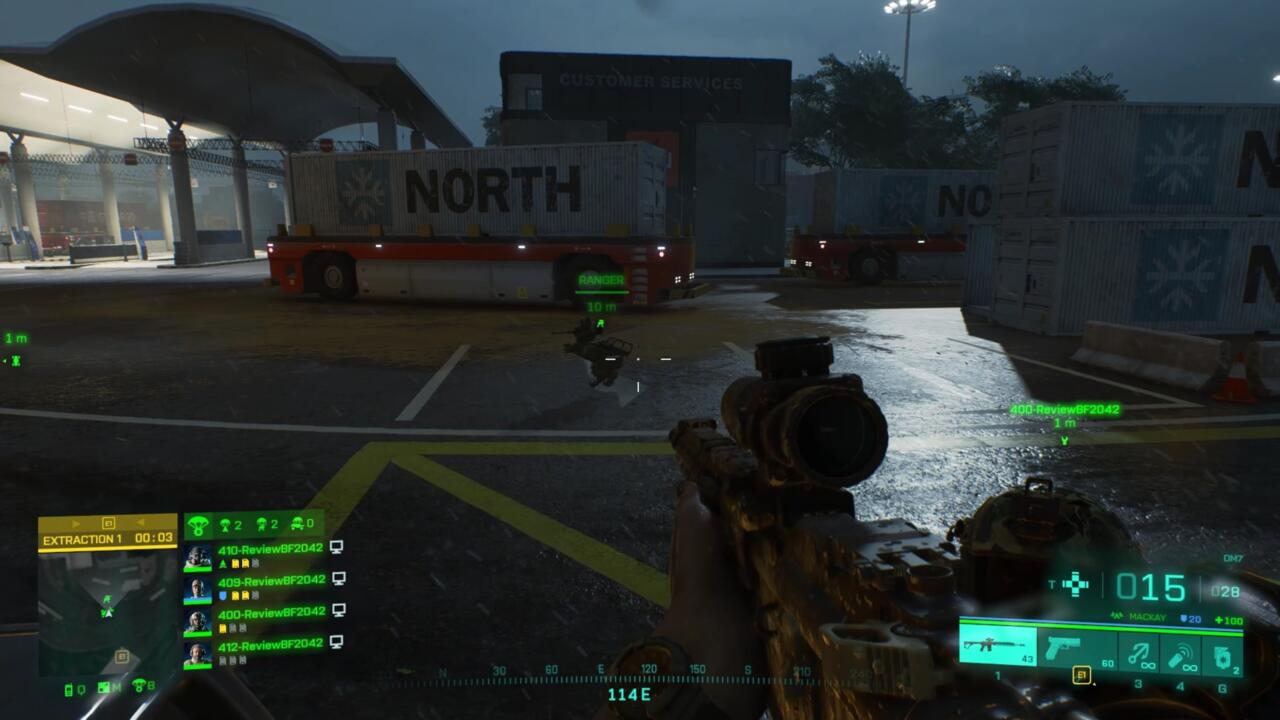
You won’t find loot in Hazard Zone in the traditional battle royale sense–there are no better guns or armor hiding in buildings as you make your way across the map. What you will find, however, are Uplinks that give you some extremely useful options on the battlefield. Uplinks give you options on your vehicle call-in tablet; you can use them to redeploy members of your squad if they’re killed, but you’ll also find uplinks for the dog-like Ranger drones and for vehicles, as well. If you find a Ranger uplink, it’s a good idea to call it in immediately. The drone might give away your position if you’re trying to be stealthy–it has a tendency to shoot at things that are way, way in the distance–but it’s great for identifying enemies you might not immediately see on your own. It also provides your squad with another shooter, which can be invaluable.
Never Assume The Condor Is Empty
Your goal in Hazard Zone should always be to at least try to extract from a match, either with the first condor landing about midway through, or the second at the end of the fight. This is the only way you can earn Dark Market credits for capturing data drives, but while you can earn money from kills, extracting is the only way to build an “extraction streak,” which unlocks additional tactical slots for your loadout. Those can be extremely useful, allowing you to add things like a starting uplink or faster health regeneration, so extracting is definitely worth it. But trying to get on that condor to escape is extremely risky business, since every other team will be trying to do the same.
If you roll up on the condor plane for extraction, you should always assume someone beat you to it if you didn’t watch it land yourself. Anyone who jumped into that plane is now waiting the 30 seconds for it to take off, and desperately trying to stay alive. They’re facing the door, guns at the ready, to blow you away. So instead of barreling toward the plane’s open bay door, approach from the side and huck a grenade or a rocket in there–just in case. The life you save might just be that of you and your squad if you happen to blow up a bunch of opposing players waiting for their chance to escape.
Protect Your Drives (And Grab Them If You Drop Them)
One strategic element you should think about that might not be immediately obvious is about paying attention to who’s holding your drives and how much danger they’re in. Without tactical upgrades you can buy between matches, each player can carry three drives at a time, and if someone’s pockets are full, you probably should think about protecting them. With lots of drives on you, it’s a good idea to hang back a bit and avoid charging into a fight, because drives in the hands of an opponent are a lot tougher to get back.
It’s also a good idea to keep a teammate out of the fire if things get bad, so that they might have the opportunity to call in an uplink to redeploy the rest of your group. Just know that everyone in a match can see redeployments, so you’re very much a sitting duck as you parachute back in. Plan who’s going to carry what drives, or spread them out between your group so if anyone is killed, you won’t lose much. The strategy is up to you, but it’s a good idea to have one.
What’s more, know that if you are knocked into the down-but-not-out state, you drop your drives. Look for the yellow case that falls near your body; opponents can pick those up (and you can grab them off downed opponents). If a teammate should revive you, remember to snag your drives again. Even if you manage to extract while in a downed state with drives on the plane, if they’re not physically in your pockets, they don’t count.
GameSpot may get a commission from retail offers.
Got a news tip or want to contact us directly? Email [email protected]

