Welcome to the Reapers’ Game, Players! Neo: The World Ends With You is out now, and we’re here to give you some advice to help get your adventure off on the right foot. Whether you’re a complete newcomer to the Shibuya Underground or an older fan who may have forgotten a thing or two with time, our starter guide should help you keep in step with the beat of Neo: TWEWY’s unique gameplay.
Keep Pushing Buttons
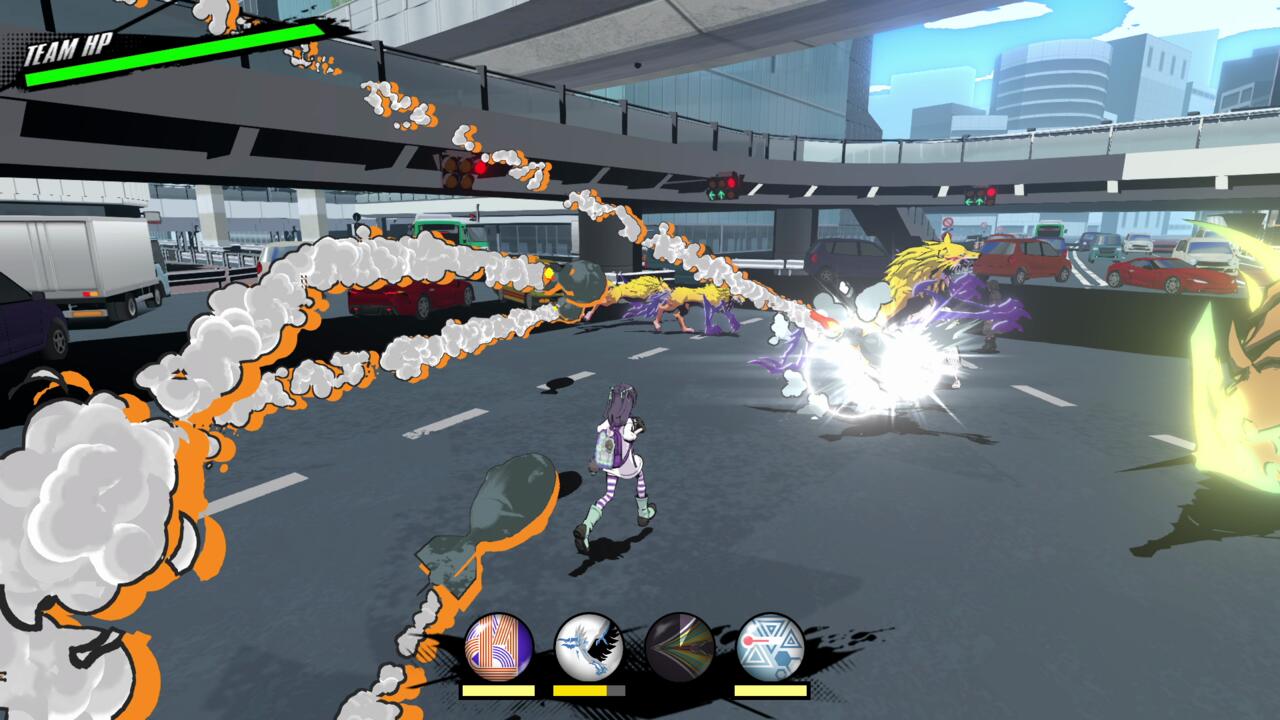
Neo: TWEWY has an action-based battle system, but what’s unique is that you can control all of the characters at once by pressing their assigned attack buttons. The best way to fight is by using lots of button presses in tandem to lock down enemies and score combos. For example, with a PS4 controller, if you have a mash attack set to square, a charge attack set to L1, and a hold attack set to R2, you can be pressing all of those buttons at the same time: hold R2 to launch a sustained attack to keep an enemy stunned while charging on L1 and rapid-pressing square, then release L1 to finish off your team attack with a charged strike once the other attacks run their course.
After you charge your Groove meter and execute a special attack, don’t let up on the normal button-press strikes while the big attack is going down! You can still get in additional hits while the special is playing out. Use this opportunity to maximize damage and even get some of your Groove back!
Set Up Your Pin Loadout For Optimal Beatdrops
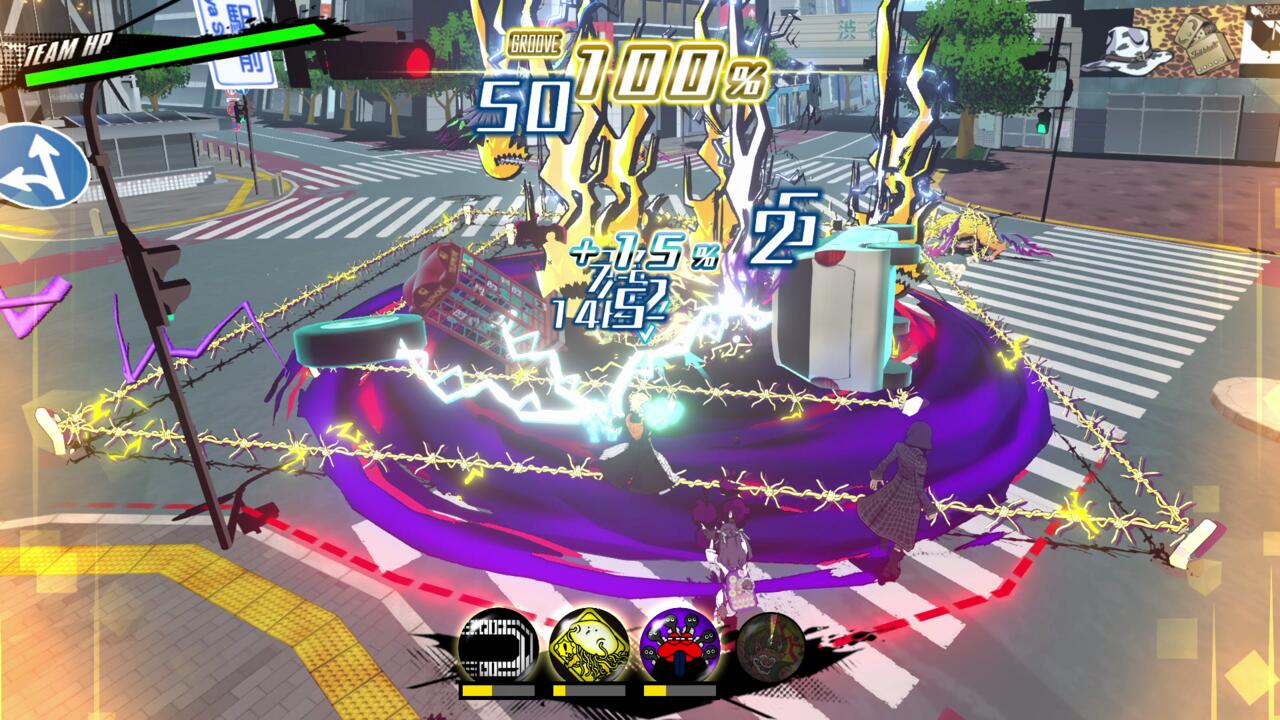
There are lots of pins to collect in Neo: TWEWY, each with different inputs and effects. Pins with high attack power and pins that confer bad status effects onto enemies are nice, but the most valuable aspect of a pin is how well it functions to build up your team’s Groove. When Groove is at a peak, you can unleash your team’s most powerful attacks.
When attacking with a pin, there will be a point where you can “drop the beat” by switching your attacking character, which raises your team’s Groove and, eventually, enables superpowered strikes. The beatdrop trigger varies from pin to pin, but it usually happens when an enemy is launched, slammed to the ground, stunned, pushed back, or hit by several attacks in a row.
Some enemies, usually larger/heavier foes, are harder to stagger or juggle, making beatdrop opportunities rarer. In these cases, focus more on small foes to build Groove, then switch to the big target.
Some pins are easier to get beatdrop gains off of than others, particularly those with many shoulder button input multi-hit attacks. Certain pin combos are great for raising Groove quickly, too. Experimentation and finding out what kind of pins you like to use is key–if you don’t like using a certain pin type or if you have trouble dropping beats, you should consider switching to another pin, even if it has lower attack power. You’re not obligated to use or master every pin, after all… unless you really want all of those Achievements.
Get Rich Quick By Lowering Your Level
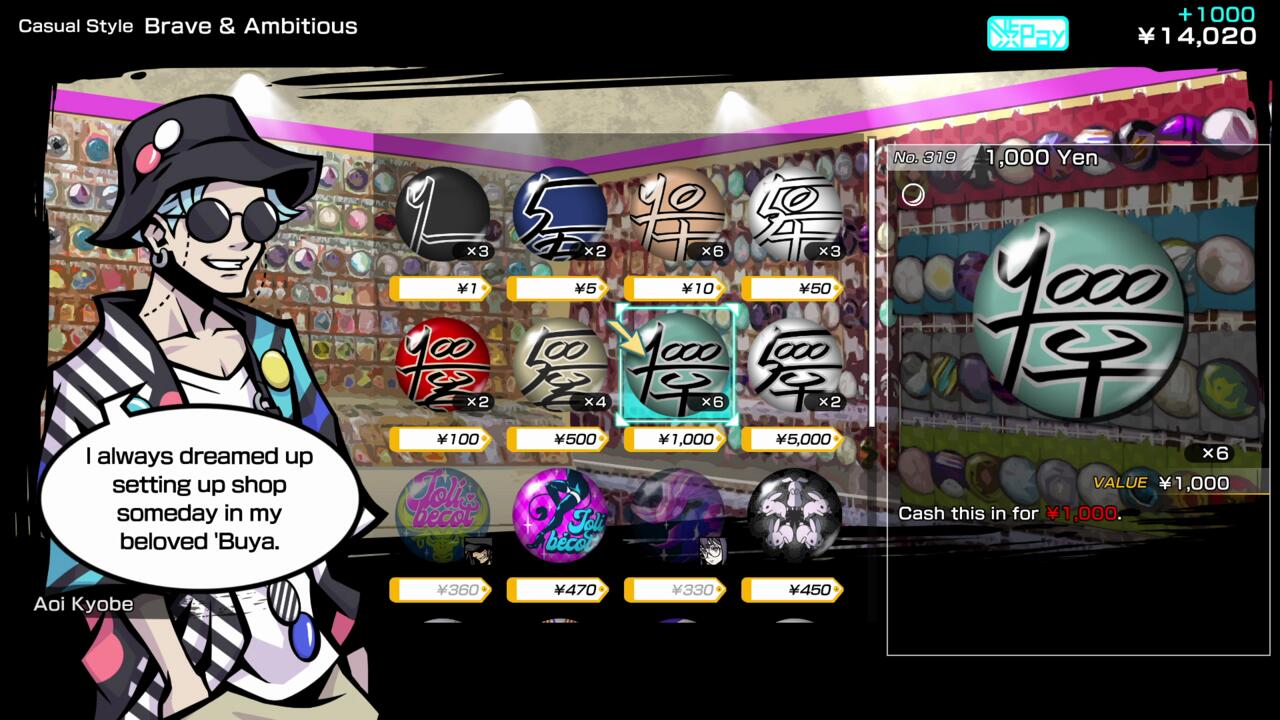
There’s good money to be made selling duplicate pins you don’t plan on leveling. But fighting Noise over and over to get pins can be pretty tedious. Fortunately, there’s a way to get lots of pins to pawn very quickly–but it does involve risk.
By pressing pause, you’ll enter a menu where you can adjust difficulty and your team’s level. By lowering your level, you’ll decrease your team’s max HP–but your base drop rate will multiply by quite a bit, meaning you’ll get more pins as a reward. Important to note: Difficulty doesn’t affect drop rate, but does affect the types of pins that drop.
Another way to increase pin drops is by chaining together encounters. Run around and attract a bunch of Noise to you, then start a fight when you see the chain number indicator. (Be careful, if you go too long without bringing another enemy into the chain, the battle will auto-start.) You will then fight a string of encounters, with your team HP carrying over from one fight to the next and each battle getting a bit tougher. If you survive this gauntlet, you’ll be rewarded with a massive pile of pins to collect. Learning to chain and fight well without losing much HP will make you lots of yen very quickly!
Keep On Shoppin’
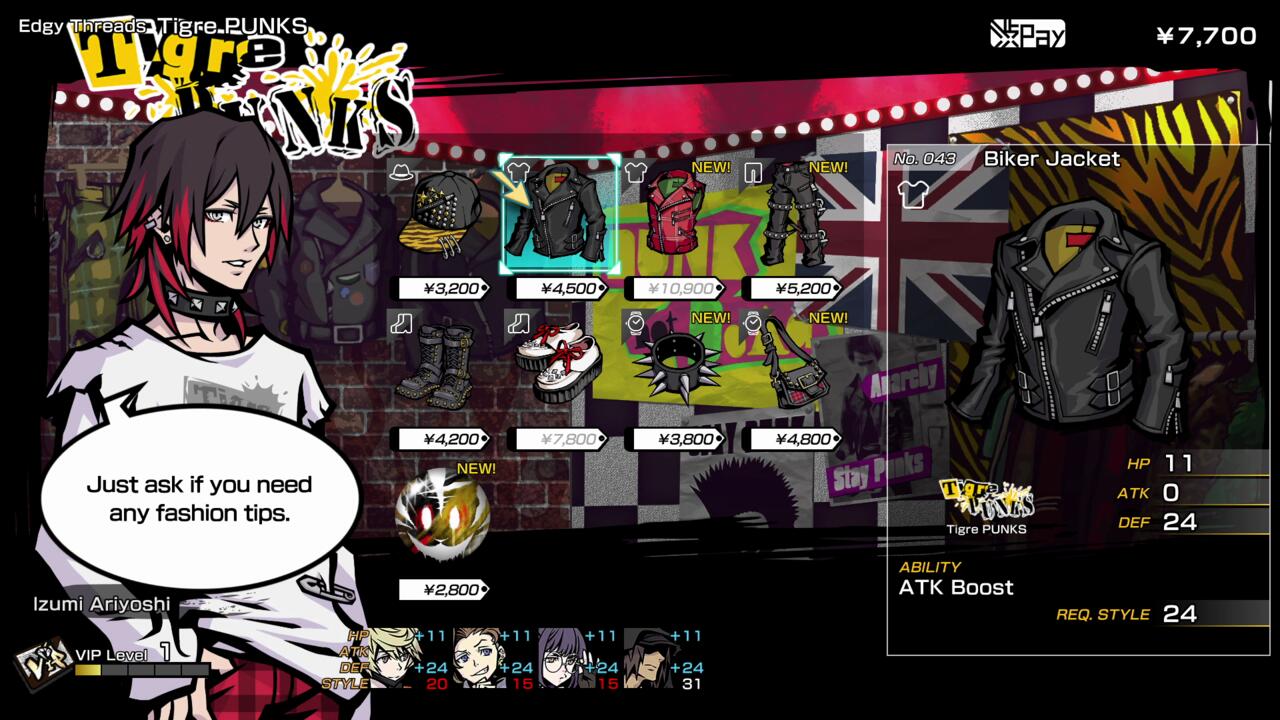
A few days into the game, you’ll be able to start shopping for pins, books, music, and clothes. Clothes shopping is particularly important, as your gear provides both stat increases and extra abilities if your Style stat is high enough. But don’t leave that shirt on the shelf if you can’t use its extra ability early on! If the clothes give you a good overall stat boost, they’re still worth buying.
In fact, you should be doing lots of shopping in general, even if you don’t really need the items. Spending at stores raises your VIP levels, unlocking new items to buy and adding the shopkeepers to your social network web (more on that later). You’ll also build a big wardrobe for later on in the game when you can fully take advantage of unlocked clothing skills. So don’t be thrifty–spend away!
Manage Your Munchies
Eating is crucial to improving your stats. Besides upping your HP, attack, and defense, food is also the only way you can raise the crucial Style stat. But there are a few things to know before stuffing everyone’s face.
When you eat, your party’s fullness (the battery icon) will increase. You can bring it down by fighting Noise battles. As long as it’s not flashing red (solid red is OK), you can eat again. However, if you overeat and bring your fullness over 100%, you won’t be able to eat again until fullness drops all the way down to zero. Keep your meter in the white, and grab food when it’s almost empty.
Also, when choosing food, keep an eye on each character’s reactions. Characters have three reactions when ordering: neutral/satisfied, excited, and displeased. These reactions tell you the odds of getting a Tasty Bonus for that character, which can increase a random stat by a significant amount and even confer a drop bonus. The more excited the character looks, the better the bonus odds.
If the character looks unhappy with the choice, you should probably pick a different item. The extra stats conferred by getting a Tasty Bonus are so significant that you should be trying for it at all times–don’t waste money and fullness on food that characters don’t like.
Networking Is Key
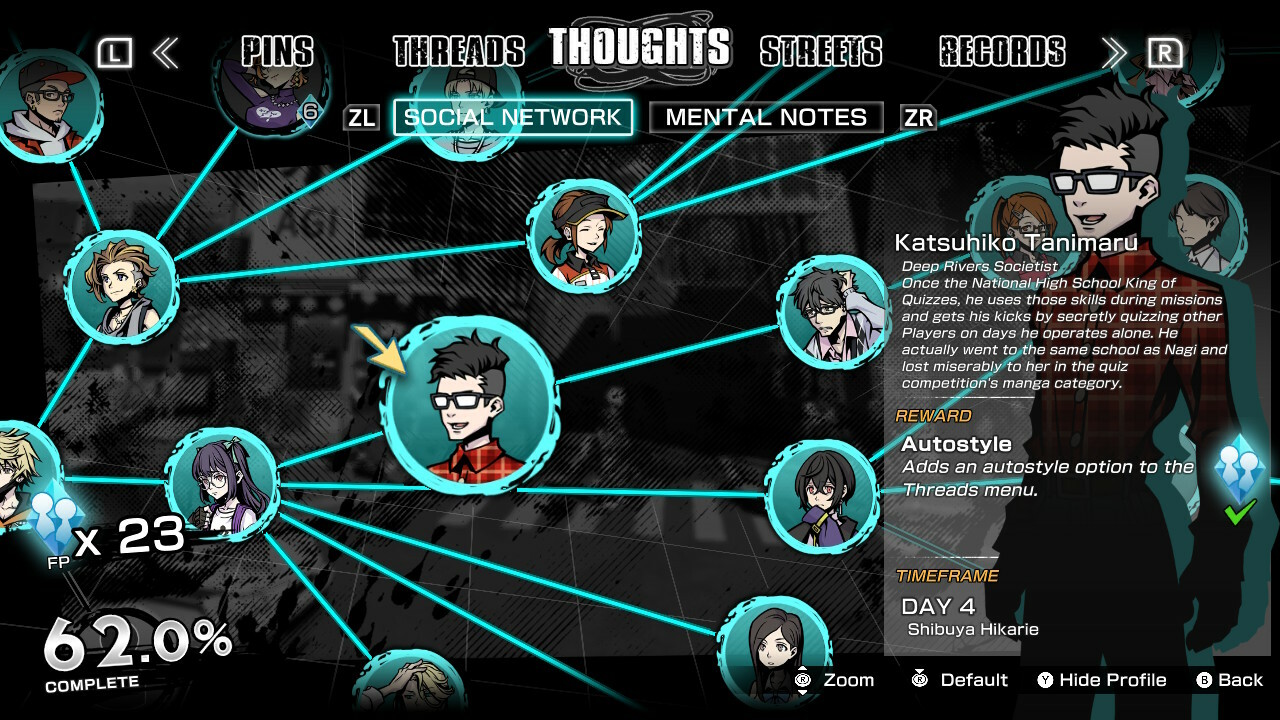
You’ll eventually open up the Social Network function a little ways into the game. This allows you to spend Friend Points to unlock various abilities and items once you’ve gotten to know a particular denizen of Shibuya. Several of these abilities are extremely valuable, such as being able to equip the mighty Uber pins. Since some connections require other connections to be completed first, you will want to open up your network as wide as possible.
Not everyone will waltz on into your network through the story, however–sometimes you’ll need to seek them out. Look on the Main Menu status screen to see if there are any sidequests in Rindo’s thought ring–if you see “Someone could use our help in this location,” that means there’s a Social Network sidequest to complete on that day.

When you get to the designated area, look for someone with this icon above their head to start the sidequest. Upon completion, they’ll join your Social Network. You can also add folks to your network from dining and shopping, but many of the best benefits come from sidequests, so they are well worth your time.
Heidi Kemps on Google+
GameSpot may get a commission from retail offers.
Got a news tip or want to contact us directly? Email [email protected]

