Note: This guide is full of spoilers for Resident Evil Village. Read on at your own risk!
Like any Resident Evil game, Resident Evil Village is filled with monstrous bosses, most of whom used to be people. What’s different about this game as opposed to many of the others is that the bosses here often require different approaches to deal with them. While you’ll usually have to unload with whatever guns you have, you also have various things to keep in mind, like the environment, weak points, and puzzle elements that you might not expect when you first show up.
We’ve run through Resident Evil Village a few times now, and have gotten a sense of how to deal with all the ugly horrors it throws your way. Whether it’s the vampires of Castle Dimitrescu or the abominations of Heisenberg’s Factory, every monster in Village has a way to bring it down. Below you’ll find a complete guide to everything you should know about every boss fight in Resident Evil Village, from preferred weapons, to boss attack patterns, to their various weaknesses.
Check out the rest of our Resident Evil Village coverage for more useful information. Our spoiler-free walkthrough can help you find everything in the game, and our essential tips can teach you what you need to know before you start. We’ve got guides for discovering every treasure chest and finding all the rare cooking ingredients. You can also read our explainer of the game’s ending and Resident Evil Village review.
Daniela Dimitrescu, The First Daughter
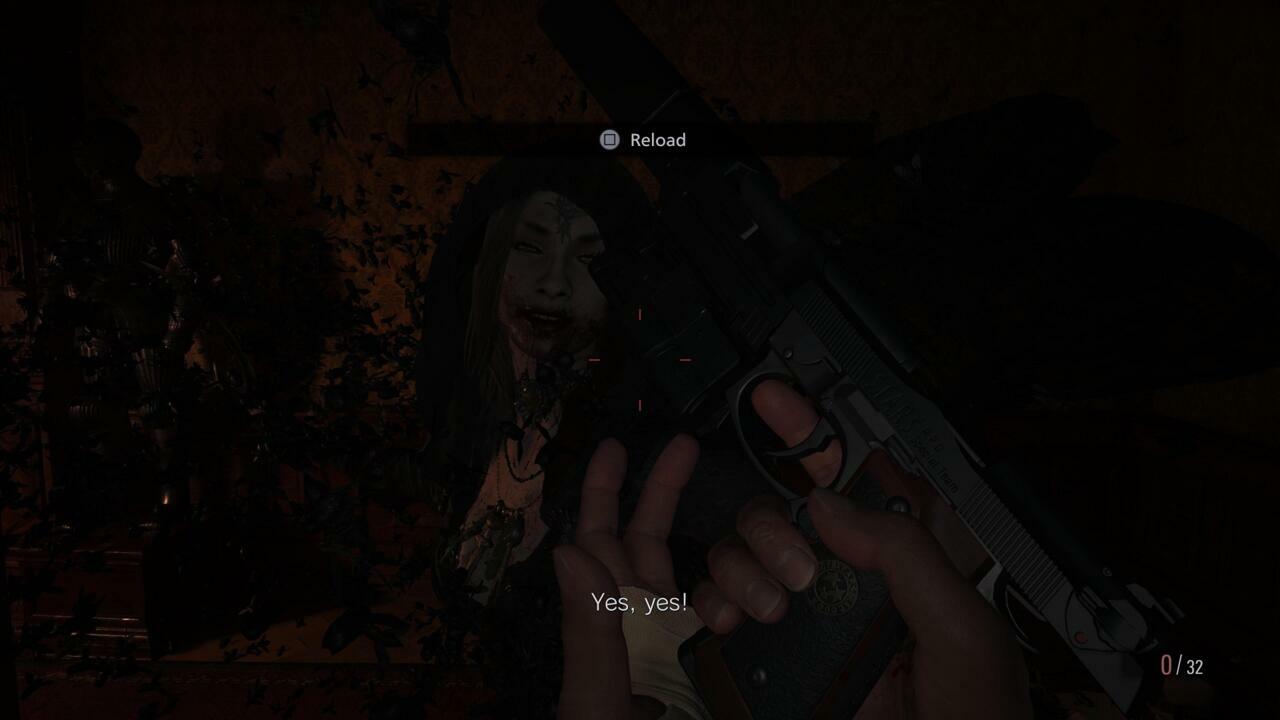
When you first encounter Lady Dimitrescu’s daughters, you’ll need to flee from them. This is tough the second time you encounter Daniela Dimitrescu, who will find you as you’re navigating through the dungeon. The daughters can turn into swarms of bugs and pass through barriers such as prison bars, which means she can close the distance on you and rip into your throat pretty easily.
In the dungeon, you’re going to have to run. Use a shotgun blast to scatter Daniela so she can’t close in on you as she passes through the dungeon bars, or you’ll take a hit. Run to the right to get around the barrier, blast her again if she reforms in your way, and make your way up the stairs and into the kitchen to trigger a cutscene.
You’ll now have a clear way to defeat the bug ladies–the cold. You want to maximize Daniela’s time in the cold, which can be tough in this fight, though, as just because she’s corporeal doesn’t mean she’s not still agile. The good news is that you can break the second window in the room, to the right of the first, to give her fewer places to hide. Keep her at bay with the shotgun until you can knock out the second pane of glass. From there, just keep laying into her with your guns while keeping your distance. It shouldn’t take much to bring her down if you’ve got her constantly blasted with cold air.
Lady Dimitrescu In The Dungeon

After Lady Dimitrescu pounds you through the floor, you’ll escape briefly before running into her again. She’s invulnerable to your weapons (not that you’ll have use of them anyway), so this is a quick game of keep-away.
After you’re attacked the first time, run to the back of the area and get a sense of the layout. You just need to dodge Lady Dimitrescu, either by kiting her down one hallway and using the other one, or by running circles around debris. It’s a good idea to get her to slice through the bars in the first hallway to get them out of the way for later.
Draw Lady Dimitrescu toward the far end of the room, then run back to the switch and activate it to start opening the doors. You’ll then have to dodge her again, so draw her back to the far end of the room, then make a break for the door. She’ll finally cut her way through the bars down the hall ahead of you, so you’ll have to backtrack and run back through the door you just opened. Draw her toward the switch, then make for the hole she just cut in the bars and dash to the exit. Grab the mask off the statue to escape the area.
Bela Dimitrescu, The Second Daughter
You’ll run into Bela eventually when you return to the second floor of the main hall, near the Wine Room. She’ll force you toward the Armory using the Iron Insignia Key, so just run for it. You’ll need to push through a wood barricade and take the face off a statue as you approach to open a tunnel into the Armory.
Once you’re in this room, Bela will corner you without a lot of room to maneuver. First, scatter her with a shotgun blast, then run to the wall opposite the door and slide the shelf out of the way. You’ll reveal a crack in the wall here, but you’ll need an explosive to blow it open. If you’ve got a pipe bomb, it’ll do the trick; if not, there are three on the back table. Just be careful to keep Bela from getting close to you as you’re readying your explosive to avoid letting her get in close to go for your jugular.
The pipe bomb explosion will blow open the hole in the wall, letting in cold air. At that point, just let loose with your weapons while trying to keep debris and stuff between you and Bela. Hammer her with the shotgun to finish her off.
Cassandra Dimitrescu, The Third Daughter
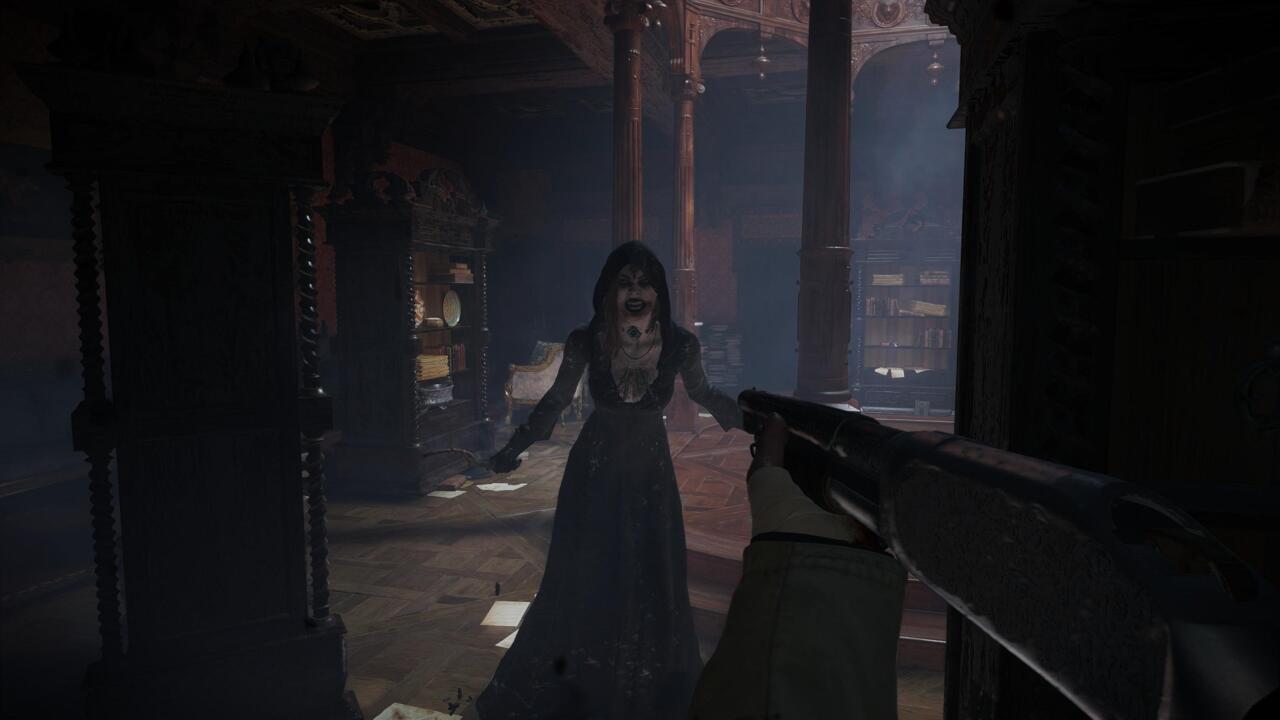
The Iron Insignia Key will get you into the Library, attached to the Opera House, where you’ll face the last of the Dimitrescu daughters. Unlike the other locations, you can’t just blow out a window or a hole in the wall to let cold air into the Library; instead, you have to throw a switch on one of the columns ringing the room, which opens the skylight. However, the skylight won’t stay open permanently, so once you find the lever, stick near it and let Cassandra come to you, rather than chasing her around the room so you can keep the cold air flowing constantly.
Exposing Cassandra to the cold knocks down her danger level quite a bit, but she’s a little more cautious than her sisters, using the bookshelves around the library for cover to make it tougher to bring her down. She’ll also try to use them to get in close to you. Hit her with whatever you can but focus on keeping the cold coming in, as that’ll make it a lot tougher for her to attack you. Stay back, do your damage, and keep throwing the switch to finish her off.
Mutated Lady Dimitrescu
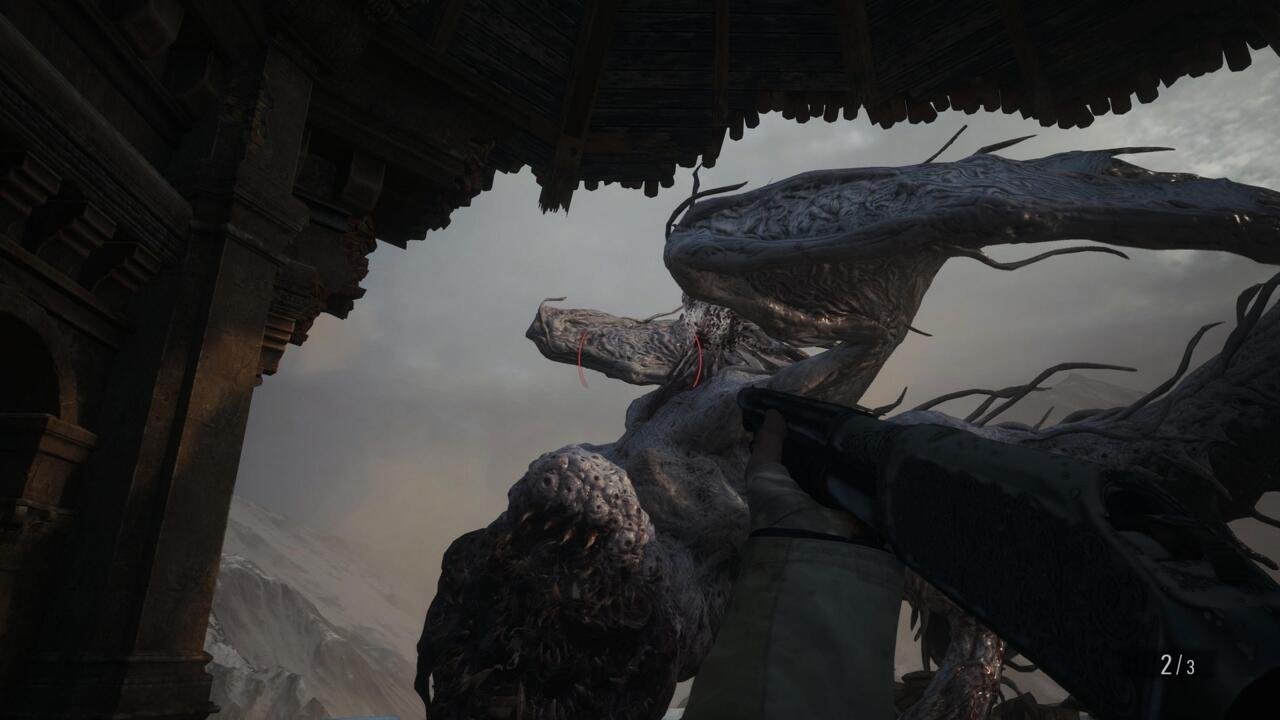
The mutated form of Lady Dimitrescu is a frightening one, but this is a fight that’s ultimately not too hard to handle, provided you’re quick on your feet. You’ve got a little space to work with as you run around the spire where you fight the boss, and while her dragon-like mutant form is enormous, it can’t maneuver well.
The trick here is to use the corners to keep clear of the mouth and claws of Lady Dimitrescu, while landing shots on the still-human body sticking out of the dragon’s back. You can do that by retreating to the corner and waiting for her to approach, then blasting away and retreating again. Keep out of the central, covered area, though–Dimitrescu can charge through the walls and smash into you, so it’s not a great place to be. That’s also why you should keep moving in circles and around corners. She can charge at you fast, but only in a straight line, so forcing her to turn around the corners will keep you relatively safe. As she approaches, land your shots, then spin around and put some distance between you before repeating the process.
Once you’ve punished Dimitrescu enough, she’ll take to the sky, and this is where you want to pull out the sniper rifle. Zoom in as much as you need to and land a few shots on her human-ish body while she’s hovering. You want to hit her once or twice every time she flies out, or you’ll risk giving her an opportunity to swoop in and slash at you. She’ll also send swarms of insects at you the same way her daughters did, so when that happens, get moving to try to stay clear of the cloud.
Listen carefully and keep your eyes open to try to track Dimitrescu, as she’ll circle the tower and try to lose you while she’s flying. She’ll also likely swoop back in for another round of chasing you around the tower, depending on your difficulty. Keep moving to minimize the damage she can do to you, but don’t give her the opportunity to charge, as it’ll knock you down and make it tough to recover.
After she’s taken enough damage, you’ll move higher up to a staircase. When you get control back, sprint up to the top and quickly open the boxes for more ammo. Watch Dimitrescu, as she’ll circle the tower a couple times, then take your shots when she stops. Try to hit her quickly at least once to stagger her out of sending more bugs your way. Enough led and you’ll trigger a last cutscene and the opportunity to put her down for good.
Angie and Donna Beneviento
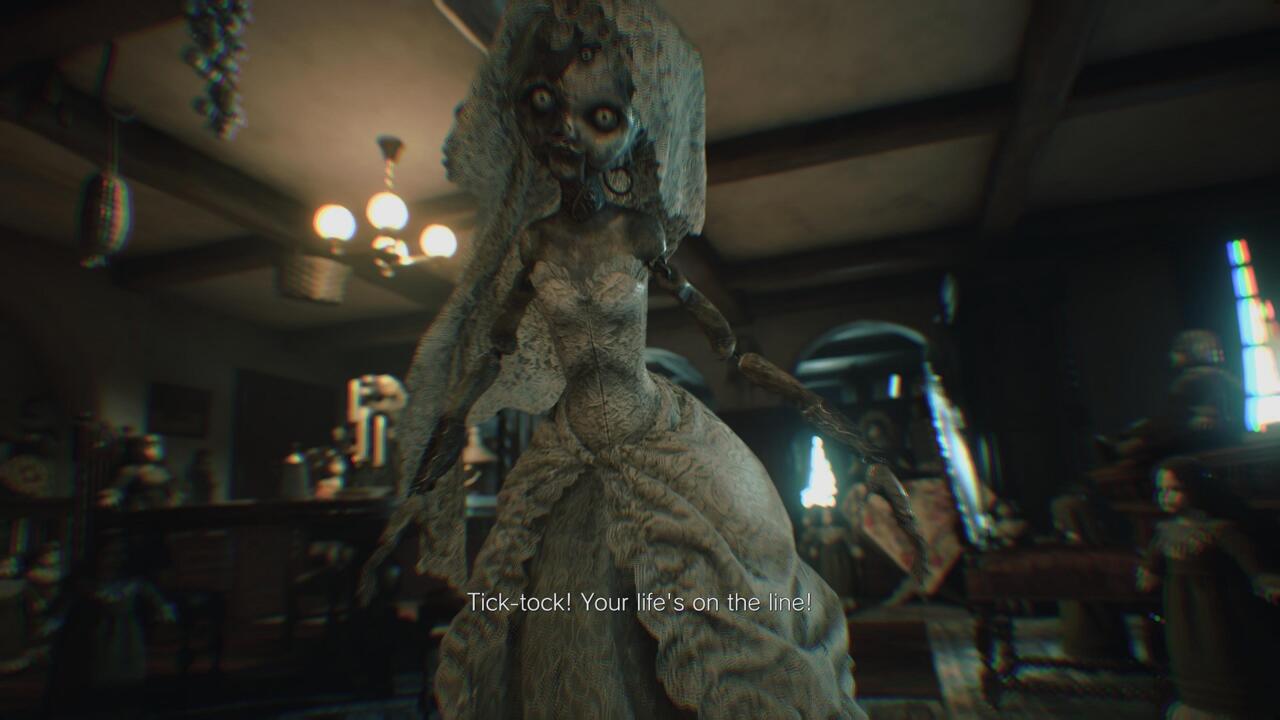
Fighting the dollmaker Beneviento is wholly different from the other boss fights in the game. You don’t have your weapons here, and instead, your taking part in a lethal game of hide-and-go-seek. Your goal is to locate Angie, the little doll in the wedding dress, wherever she is in the house. The longer you take, though, the more the other dolls will twitch and laugh, until finally, a group of them will attack you with their knives, dealing significant damage.
The good news is that you can beat Angie at lightning speed if you’re quick about it. First off, this is a good place for headphones; if you can zero in on the sound of Angie’s laughter (as opposed to the other dolls), you can find her more quickly. She usually shows up in three specific spots, but there is a chance she can wind up in different ones, so you’ll have to be on your toes here to find her quickly.
When you do locate Angie, just pick her up to trigger a brief cutscene, reset the timer, and move her to a new place. As you do damage, look for blood on the walls that can give you clues as to where she’s headed. Here are the three locations where you’re likely to find her:
Location 1: Upstairs in the child’s room, the only room you can access on the second story. Look for her on the ground to the left of the bed; you can also check in the closet here if she’s not out in the open.
Location 2: Back down in the room where the boss fight first kicked off. Go past the dining room table to the living room area with the couch and look for Angie to the left as you step down.
Location 3: Run down the narrow hallway toward the elevator that took you down from this section of the house initially. She’s usually right on the floor beside it. This is where blood trails will be especially helpful; if you see smears on the walls, you’re going the right way.
Stab Angie three times and you’ll find you’ve actually eliminated Donna, not the doll. That’s because throughout this entire area, Beneviento has been infecting you with hallucinations. With the boss dead, you’ll finally see things clearly.
Moreau

The first phase of the Moreau boss fight, before you’ve drained the reservoir, is about avoidance. Watch for the big fish to rise out of the water and barrel toward you. Most of the time when you want to cross a floating bridge or similar structure, Moreau will rush it in an attempt to knock you into the water and kill you. Therefore, you want to bait him a bit–walk toward the place you intend to cross the water, wait for him to swim toward it, and then back up and let him pass. You move especially slowly when crossing these floating bridges, so for the ones where you have a lot of ground to cover, make sure you let Moreau miss you before you start your trip.
Draining the reservoir triggers the boss fight proper, where you’ll follow Moreau to the drowned portion of the village and battle him up close. First, bring plenty of explosives to this fight; it’s a good idea to craft additional grenade launcher ammo if you can, as well as shotgun ammo. The big fish will stomp forward in an attempt to trample you up close, but explosives are great for staggering it. When that happens, unload with the shotgun into the man-shaped tongue that spills out of its face, then get some distance and prepare another volley.
Up close, Moreau will try to wallop you with his big head, but you can block those attacks with your guard. That’s not an ideal solution, but you might find that you have to, since Moreau will use his green goop to create barriers and cut off pathways for you to maneuver in this arena. If you see that happening, unload on the barrier to take it out, since getting backed into a corner here is extremely dangerous.
Once you hurt Moreau enough, he’ll climb up onto the rooftops and puke acid into the sky, creating a deadly rain. When you see him start climbing, run directly for the nearest roof and take cover. You should find extra ammo in these spots as well, and they’re marked in yellow to be very obvious, but watch for their locations as you’re fighting so you know where to retreat to. Moreau’s acid is extremely deadly–much more so than his up-close attacks–and while the rain won’t kill you immediately, it will do you in pretty fast if you’re not under cover.
Moreau will start plowing through buildings after you’ve hurt him enough to trigger his first dose of acid, opening up more of the arena. He’ll eventually open up three different sections, and throughout, you’ll find explosive barrels. Use these to your advantage to save grenade launcher ammo, as they’re very effective. You’ll have to lure him toward them, though, so make sure you note their locations and you move quickly to get into position so you can avoid his attacks.
As with the other bosses, repeat the process of avoiding Moreau’s acid and dishing out punishment and he’ll go belly-up.
Sturm
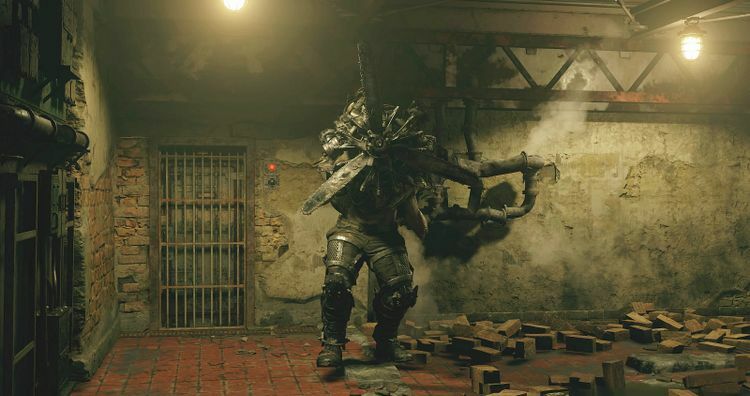
Heisenberg’s creation, which is a big guy with a damn propeller for a face, will chase you throughout the Factory area, but eventually you’ll face him in a tight room full of hallways. This is tough to deal with at first, because he’s tough to see coming, but he will charge straight at you and plow through walls to take you down. The good news is that he’s not especially bright; he mostly just runs in a straight line, following you through one or two charges before careening into a wall. Your goal at first, then, is to try to pinpoint his location, dodge him as best you can, and get him to open up the space a bit. Bring healing items.
Once Sturm has wrecked a few of the walls in this room, you’ll have a better chance at seeing him, avoiding him, and damaging him. Watch for the boss to charge toward you and dodge out of the way, then do so again until he slams into a wall; quickly wheel around and shoot the glowing red exhaust port in his back to do some damage. After that, Sturm will charge up and release a flame blast in your direction; it’s best to try to get behind a wall or other cover when this comes your way. Some of the walls in this room are metal, which he can’t break, so use those to avoid the fire.
Sturm leaves some flames on the ground, so you’ll need to pick a path around the burning floor to avoid taking damage. As soon as he’s done with his flame burst, get ready to run again, because he’s coming for you. There’s ammo scattered around the edges of the room and sitting on pipes, so grab some if you need it. Mines are also handy here because Sturm will run straight into them without much coaxing. Above all, though, try to keep an eye on the boss so you can run away from his charges and lose him into walls so he won’t run you over.
You pretty much just have to repeat this process until the fight is done, focusing on hitting Sturm in the back whenever he’s facing away from you. Try to be quick about zeroing your shots because he won’t leave the weak point exposed for long. Once he takes enough damage, he’ll explode, leaving you free to exit the Factory.
Heisenberg

This is actually probably the easiest fight in the game thanks to the toy you get to bring into it: Heisenberg’s tank. On the elevator ride up, take a second to familiarize yourself with the vehicle. It can block incoming attacks with a guard of its own, which defends you with a chainsaw, and has tank rounds that take a second to recharge between shots, as well as a machine gun. Try to keep the machine gun firing constantly until you can let loose with the tank round, and if Heisenberg closes the gap on you, get that chainsaw in front of your face to keep his attacks back.
The tank is actually a bit more agile and maneuverable than Ethan is on foot, what you want to do here is strafe sideways to keep away from Heisenberg’s attacks and charges, while continually laying into him with machine gun fire and explosive rounds. You should be able to keep mostly clear of his attacks early in the fight.
You’ll see some glowing red spots on his chest, on the crane arm with the saw on it he uses to attack you, and on lower sections of his main body. Target those with whatever you’re shooting at him. Occasionally, he’ll draw chunks of metal to him to act as a shield, but he’ll leave a hole over one of the weak points so you can wail on him and force him to drop his guard. Hitting any one spot with enough fired will stagger him, but you’ll need to damage all four to hurt him enough to push him into a new phase of the fight.
Hurt Heisenberg enough and he’ll knock you off your tank, forcing you to fight him on foot. He’ll drop several chunks of metal onto the battlefield, which you can use as cover as you run around. The goal is still the same, though–hit him with whatever you can in the weak points, making use of your strongest weapons. You can also guard against his attacks, but you’re going to take more damage.
The good news is that you don’t have to hit Heisenberg especially hard to end this phase, so prioritize keeping yourself alive and shoot at him when you can. There’s more ammo and other pickups around the battlefield to help you fill up ammo if you need to. After you damage him a little more, a cutscene will take you back to the tank, where you’re free to finish Heisenberg off.
Mother Miranda
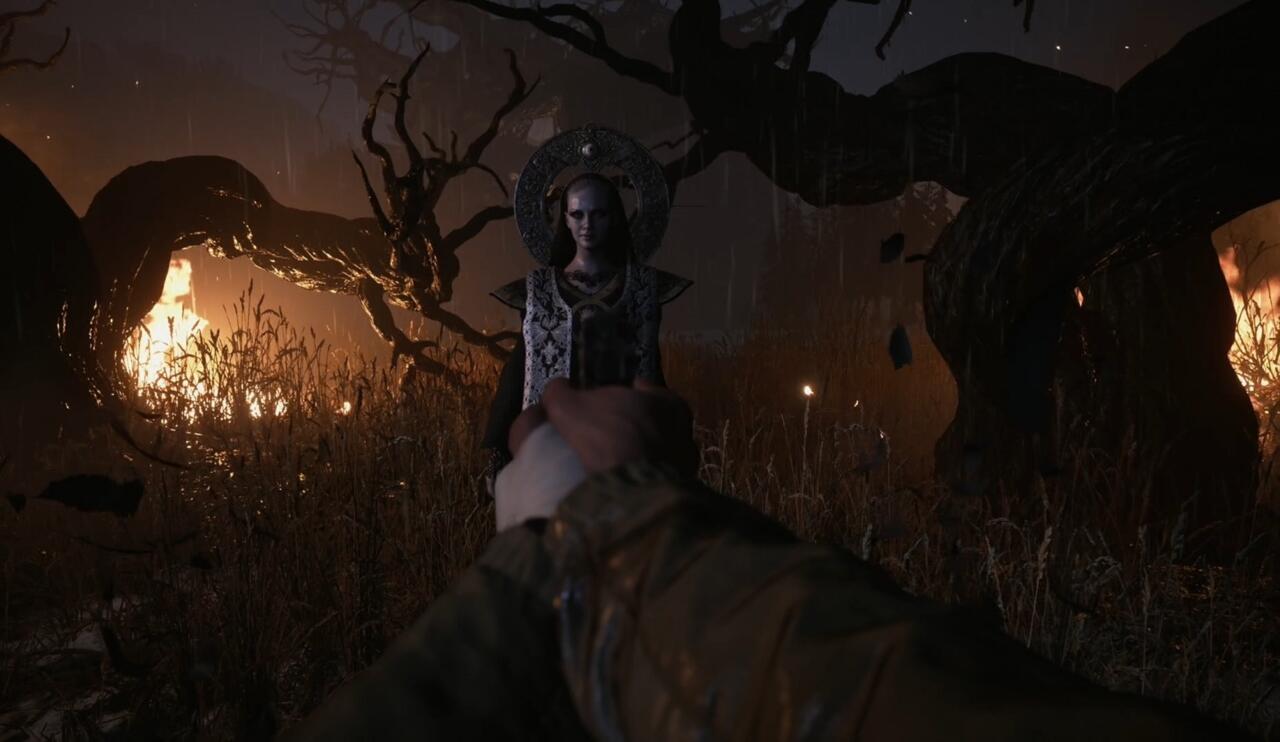
This fight is a tough one because Miranda has a variety of attacks and takes a huge amount of ammo to put down for good. Primarily, you want to keep moving to avoid as much damage from the boss as you can. She mostly will attack in straight lines and attempt to drop on you in specific places, so if you run around the edges of the arena, you can avoid a lot of damage from her. That’s a good idea, because you need to outlast this boss, and this fight is going to take a while.
In her first phase, Miranda just comes at you with her claws. She’ll start toward the center of the arena and rush forward, but she attacks in a straight line, so you’ll have time to dodge sideways and then wail on her from the side. Hit her hard with weapons like your shotgun, doing as much damage as you can. Try to get a sense of the timing of her moves before firing too much, though, because conserving ammo in this fight is a very good idea, and missed shots are costly.
Blast Miranda during her melee strikes and watch out for her to call pillars of mold up from the ground. When that happens, dart behind one, staying close to the edge of the arena. Between the pillars, a big golden ball of mold goo will appear, spraying orange blasts off in all directions, but the pillar will provide cover to keep you from taking any damage from it. Keep this in mind, though: when you see that gold ball and there’s no cover, shoot it to destroy it.
Be careful of Miranda’s attacks after the ball goes away, as she’ll cut right through the mold to come after you. This is good, actually; if you can bait her through the mold, she’ll create ammo drops you can pick up. Keep hammering her with your guns until she takes enough damage to go into her second form, where she gains big spider legs.
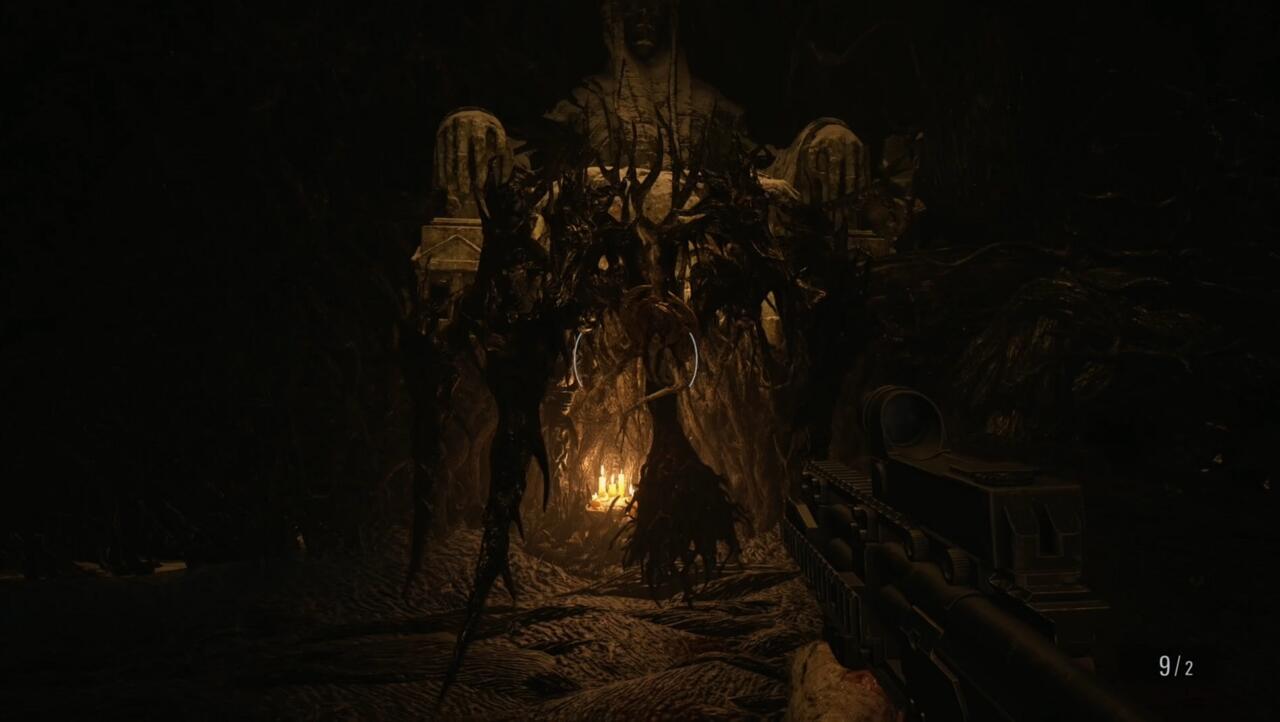
Miranda now gets more powerful attacks and more agility. She’ll still come straight at you, swinging away with multiple strikes, but you can still dodge them by high-tailing it around the edges of the arena. Be especially wary of the final attack in her melee combo, because she can now pivot to hit you with it even if you dodge a little to one side of her initial strikes; she’s not stuck going in a straight line anymore. The good news is that this will bring her close to you when she finishes an attack pattern so you can whirl around and shoot her a couple times before she withdraws. Keep moving to dodge these attacks and watch for her to jump up on the standing stones on the sides of the arena. When she does that, take a shot at her if you have it, but make a point to run for it–she’s about to leap off the stone and land right wherever you’re standing.
In the third portion of the fight, Miranda takes flight, and again, you’ll need to do some dodging. She’ll now swoop down through the air to nail you, and she’ll repeat that a couple of times, so keep running to stay clear. When she stops, take a shot with the sniper rifle. Watch for Miranda to over and summon three of those gold mold balls over her head. When that happens, shoot them down–if you have grenade launcher rounds, this is a swell time to use them, as you can nail Miranda for big damage and blow up all the orbs. If you leave them, they’ll flood you with those molten mold blasts, and there’s no good way of avoiding them, so even if you have to use handgun ammo, make sure to shoot them down.
When you’ve done enough damage to Miranda in the air, she’ll drop back to the ground and assume her first, terrestrial form–but this time, she’ll blind you in darkness. She’s still doing the same attacks as before, in a straight line, but this time you won’t see her coming and instead will have to listen for her. It’s tough, but try to stand your ground to spot her approach and land a shot before moving clear, because she disappears very quickly after finishing a combo and is tough to shoot afterward. You want to hit her a few times to make her cancel this whole darkness idea, at which point she’ll go back to one of her earlier forms.
In the final portion of the fight, Miranda will basically rotate through all her forms and attacks, so keep up the motion and use the strategies you employed earlier to deal with her. Prioritize hiding from or destroying the golden mold balls, as these are the attacks that are toughest to avoid, and try to keep up as much damage as you can. This part of the fight can drag quite a bit because it becomes tough to keep damaging Miranda, and you’re likely starting to get low on ammo. Hit her with whatever you’ve got, but if you can, keep crafting shotgun ammo, as it tends to be the most reliable way to hurt her with quick shots.
Finally, Miranda will come after you in a final strike and you’ll be prompted to fire away. Pull out whatever gun you’ve still got ammo for (hopefully the shotgun because a handgun makes this a bit tougher) and just unload. A few shots to her face will stagger her, and a few more will finally put her down.
Watch live streams, videos, and more from GameSpot’s summer event.
Check it out
Got a news tip or want to contact us directly? Email [email protected]

