Have you finally reached the point where you can’t do without Windows 11? No problem—getting your hands on Microsoft’s latest operating system is straightforward.
You can obtain it one of three ways: waiting for Windows 10 to push it to you, triggering the download using an application, or creating installation media. We walk you through each method below.
However, before getting started, we advise first verifying that your PC is compatible with Windows 11. It can save you some time if it turns out you’re stuck with Windows 10. Also, if you’re starting from scratch (or, ahem, have been running an earlier version of Windows unactivated), you might also want to snag a cheap Windows 10 license. Because upgrades are free, it’ll allow you full access to Windows 11 features for far less.
Once you’ve confirmed that your system is ready to go, here’s how to download Windows 11.
Windows Update

Mark Hachman / IDG
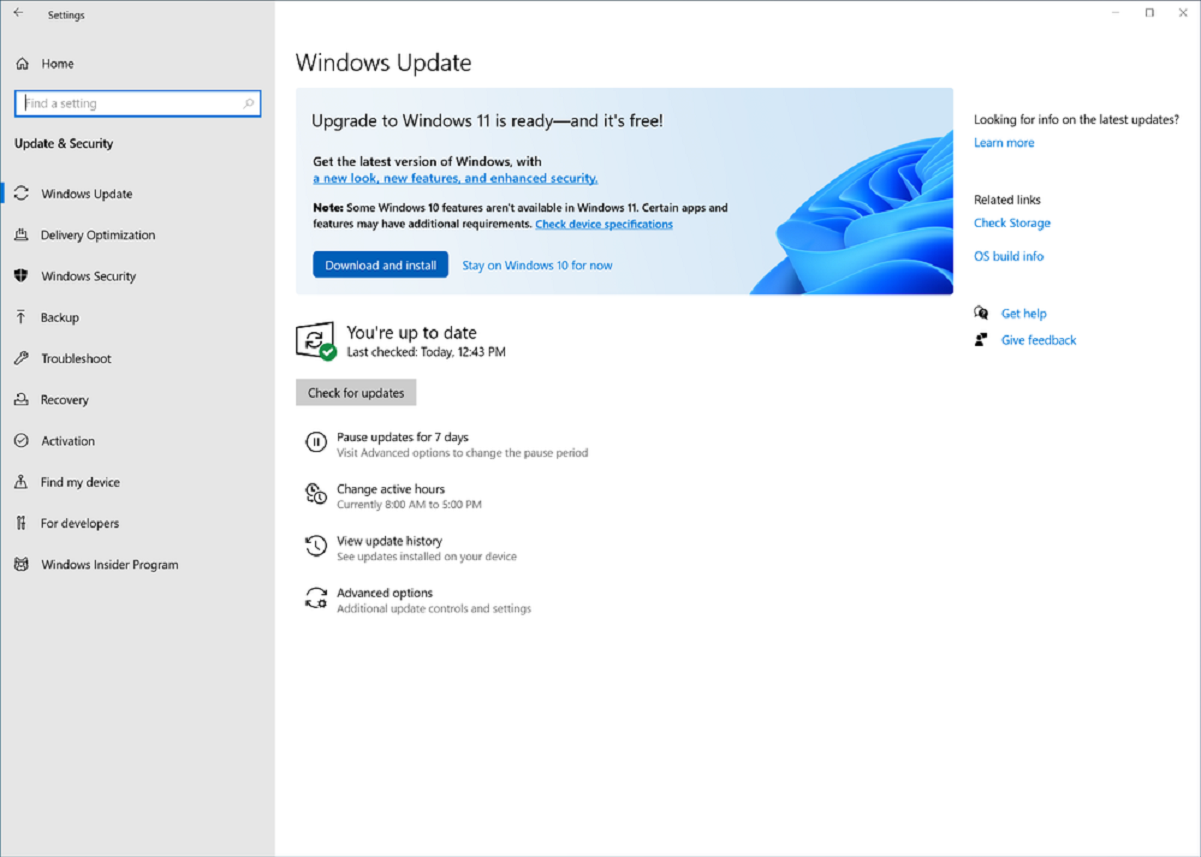
Eventually, everyone will have Windows 11 pushed to them via Windows Update. You should get a notification when it’s ready, but if you haven’t seen one yet, you can check manually. Head to Start> Settings> Update & Security> Windows Update> Check for updates.
Microsoft recommends this method over the others, so taking the lazy route is perfectly acceptable. Some users can run into hardware and software issues when forcing an upgrade earlier. Overall, waiting can be advantageous—Windows 11 continually gets new tweaks and additions as time passes.
Note: This method is the only way to get Windows 11 for PCs with an Arm processor (e.g., Qualcomm Snapdragon chips.)
Windows 11 Installation Assistant

PCWorld
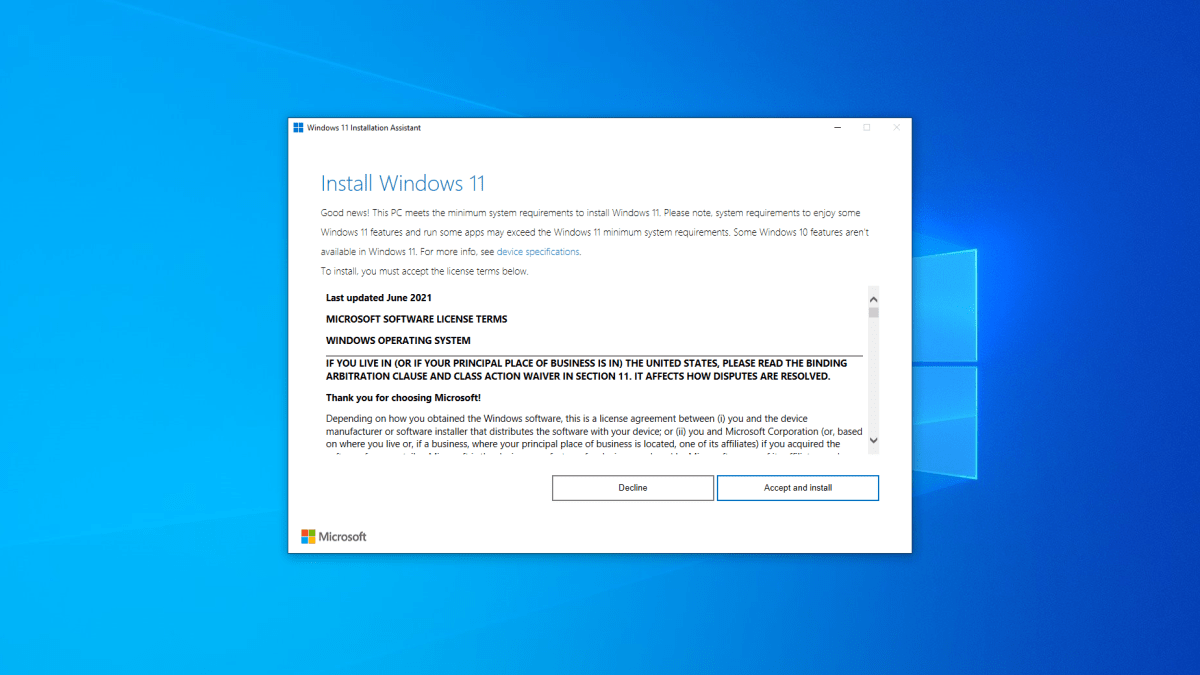
Is Windows Update still not coughing up Windows 11? For PCs with an Intel or AMD processor, you can move along the process by using the Windows 11 Installation Assistant. This program has a user-friendly interface that does the work of downloading Windows 11 and then initiating its installation.
To get started, download and run the Installation Assistant. If you haven’t already run the PC Health Check App as part of verifying your PC’s Windows 11 compatibility, you’ll be prompted to download and install that application. After you’re given the green light, you can then proceed onward with Windows 11.

PCWorld
Sometimes you need or want to use a bootable USB or DVD to install Windows 11—perhaps the Installation Assistant isn’t working for upgrading Windows 10 to Windows 11. Or maybe a clean install is required, because you want to completely wipe Windows 10 or you have a PC that has no operating system yet.
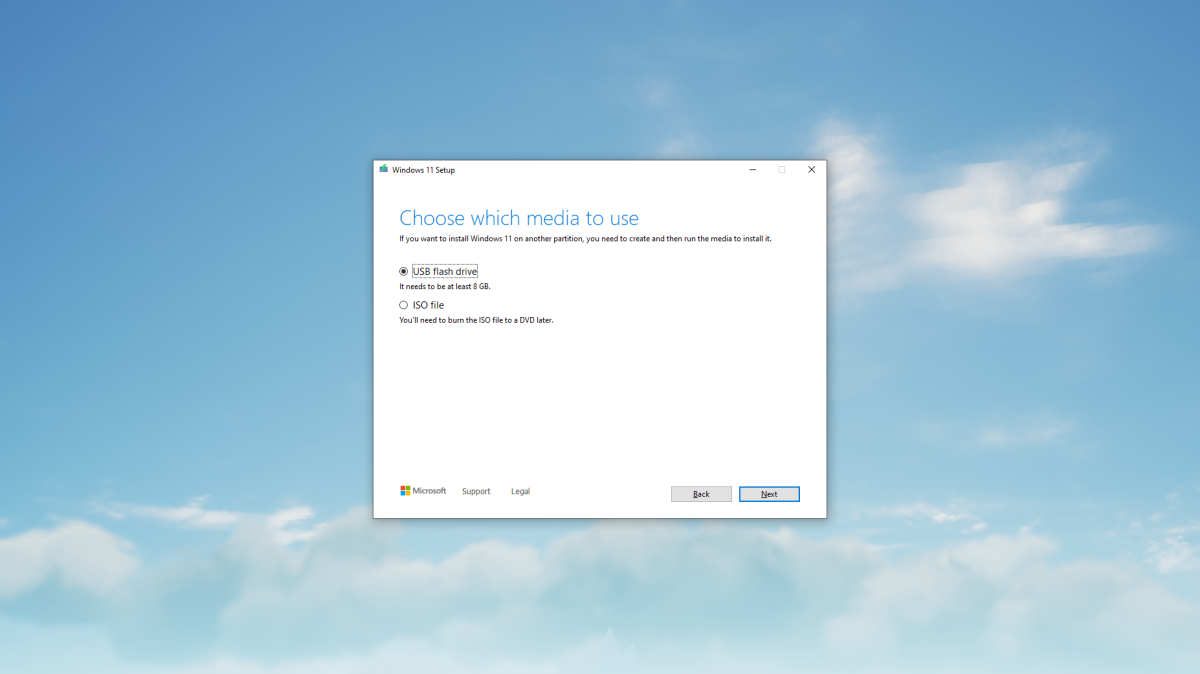
For the files necessary to create that installation media, head to Microsoft’s Windows 11 download page. Existing Windows users can use Microsoft’s Media Creation Tool, which handles the download for both USB drives and DVDs. Mac and Linux must grab the ISO file for Windows 11.
Afterward, you may need to undertake some additional steps to create your media. The Media Creation Tool only produces bootable USB drives. You have to burn DVDs yourself after the download finishes. If you grabbed the ISO directly, the process of making a bootable USB drive or DVD is also on you.
Don’t forget
After you’re done downloading Windows 11, you also have to install it. For smooth sailing, we recommend that before you begin, you check out our Windows 11 upgrade checklist, as well as our guide on how to how to upgrade to Windows 11. If nothing else, back up your PC (as applicable) before you install Windows 11. Even if you plan to keep all of your files and applications, a simple upgrade can on occasion go awry.
Note: When you purchase something after clicking links in our articles, we may earn a small commission. Read our affiliate link policy for more details.
Alaina Yee is PCWorld’s resident bargain hunter—when she’s not covering PC building, computer components, mini-PCs, and more, she’s scouring for the best tech deals. Previously her work has appeared in PC Gamer, IGN, Maximum PC, and Official Xbox Magazine. You can find her on Twitter at @morphingball.

